Switching from auto mode to manual mode can feel overwhelming at first, but once you understand the basics, you’ll have complete creative control over your photography. Whether you’re capturing street scenes, portraits, or landscapes, the right settings will make a huge difference in your photos.
In this guide, you’ll learn the best camera settings for beginners, including essential concepts like shutter speed, aperture, and ISO. By the end, you’ll know how to balance these settings to create well-exposed and sharp images, even in tricky lighting conditions.
Why Manual Mode Matters
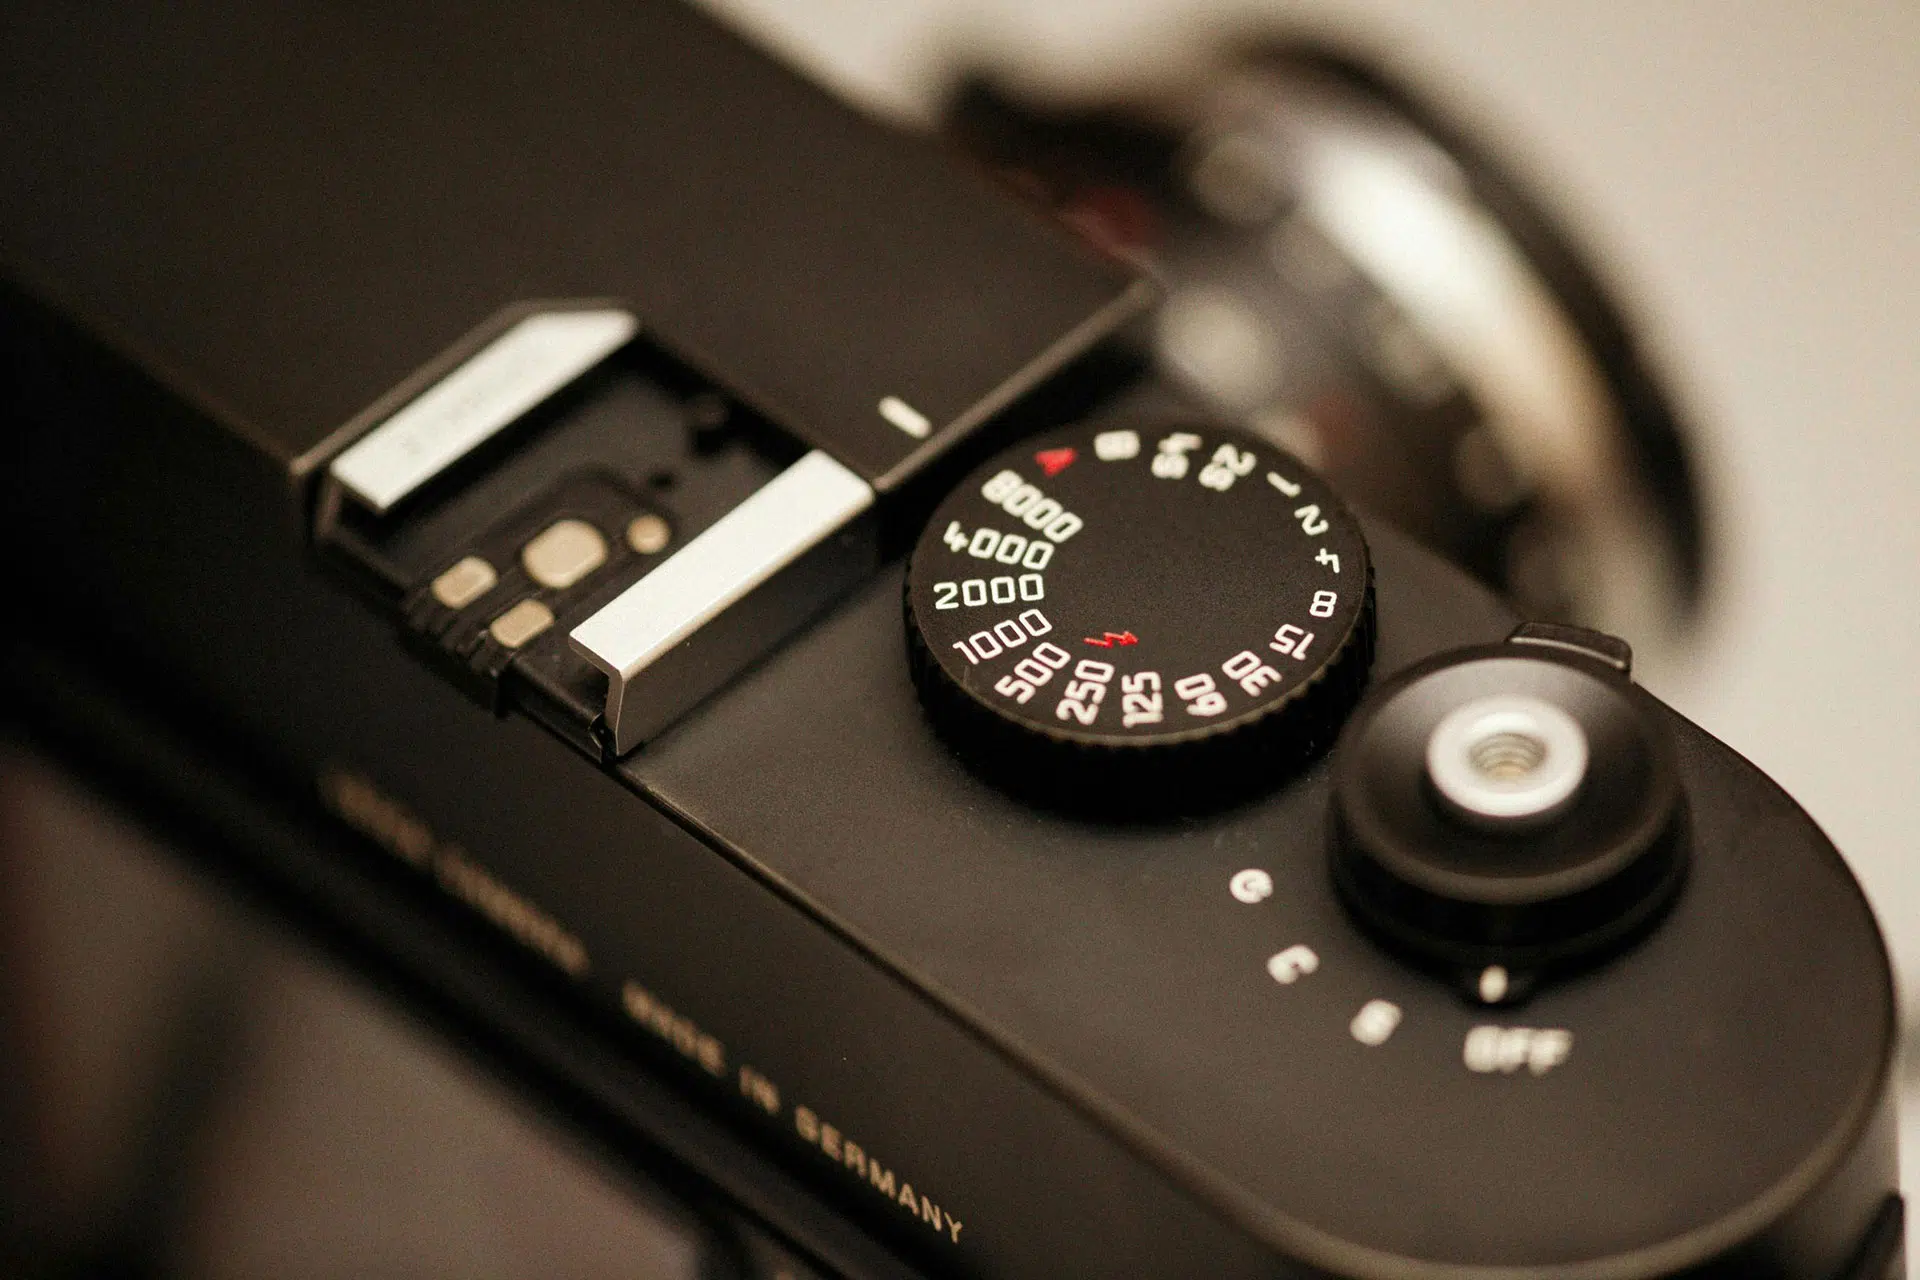
Manual mode in photography gives you full control over how your camera captures an image. While automatic modes adjust settings for you, they often don’t get everything right, especially in tricky lighting. By understanding how shutter speed, aperture, and ISO work together, you can avoid underexposed or overexposed shots and achieve the exact look you want.
If you’re unfamiliar with how these settings interact, check out our Exposure Triangle guide for a deep dive into the relationship between them.
When to Use Manual Mode and Why
While auto settings are useful, there are times when switching to full manual control improves your results. Here are a few scenarios where taking full control of your camera settings can improve your shots:
Low-Light Photography
When shooting in dim conditions, such as indoors or at night, manual mode photography settings allow you to control the shutter speed, aperture, and ISO to properly expose the image without relying on the camera’s built-in flash. This is especially useful for capturing cityscapes, star trails, or candle-lit portraits where natural light enhances the mood.
Long Exposure Shots
For light trails, waterfalls, or night photography, using a slow shutter speed (like 1 second or longer) creates smooth and artistic effects. In manual mode, you can keep your ISO low (100-200) to reduce noise while adjusting the aperture and shutter speed to get the perfect exposure.
Portrait Photography with Background Blur
If you want a blurred background (bokeh effect), controlling the aperture in manual mode is key. A wide aperture (like f/1.8 or f/2.8) lets in more light and creates a shallow depth of field, making your subject stand out beautifully against a soft, blurred background.
High-Contrast Scenes
In bright sunlight or scenes with both deep shadows and bright highlights, auto mode may overexpose or underexpose parts of your image. In manual mode, you can adjust metering settings and fine-tune exposure to retain detail in both shadows and highlights.
Consistency in a Series of Shots
If you’re taking multiple photos in the same setting, such as a portrait session or product photography, keeping your settings locked in manual mode ensures consistent results. Auto mode can make slight adjustments between shots, leading to differences in brightness and color.
Using manual mode in these situations helps you achieve professional-looking results by giving you complete creative control over your camera settings.
Mastering Exposure and Focus
Getting the right exposure is essential. Most cameras have a light meter that helps measure brightness. Adjusting your settings until the meter is centered ensures a well-exposed shot. Using manual mode allows full control over exposure, so practice adjusting each setting and seeing how they affect the final image.
Another key element is focus. Autofocus is great for beginners, but learning to use manual focus can help in low-light situations or when shooting specific details. Some cameras have focus peaking, which highlights in-focus areas, making it easier to see what’s sharp.
Best Manual Camera Settings for Beginners
When setting your camera manually, start with a balanced combination of shutter speed, aperture, and ISO. Adjust each based on your shooting conditions. If you’re capturing portraits, a wide aperture around f/2.8 and a shutter speed of 1/250s should work well. For landscapes, a smaller aperture like f/11 and a slower shutter speed around 1/60s will keep everything sharp.
If you’re shooting at night, things get a bit trickier. You’ll need a wider aperture (f/2.8 or lower), a slower shutter speed (around 1-10 seconds), and a higher ISO (1600-3200) to gather enough light. Using a tripod helps avoid blur when using longer shutter speeds. These adjustments are fundamental to mastering the best camera settings for beginners.
Practicing Different Lighting Conditions
Natural light changes throughout the day, affecting your exposure settings. Shooting during golden hour (shortly after sunrise or before sunset) provides soft, warm light, requiring lower ISO values and allowing for more creative depth of field. Midday sun is harsher, so reducing exposure with a smaller aperture (f/11 or higher) and faster shutter speeds helps avoid overexposure.
At night, artificial lights add complexity. Experiment with long exposure photography by using a slow shutter speed and keeping the camera steady with a tripod. Adjusting white balance settings can also help control color tones in different lighting conditions.
Conclusion
Mastering manual mode photography takes practice, but once you get comfortable, you’ll see a huge improvement in your photography. Start by experimenting with shutter speed, aperture, and ISO, and use your camera’s light meter to fine-tune your exposure. The more you shoot, the more confident you’ll become in adjusting settings on the go.
For more in-depth guides, check out our articles on Understanding Camera Shooting Modes and Metering Modes Explained.
Happy shooting!


